This Guide will allow you to create a Pointer (PTR) record, also known as a Reverse DNS (rDNS) record, and route it effectively.
***VERY IMPORTANT NOTE***
*** A PTR/rDNS record is only able to point to ONE IP Address. You cannot point multiple records to a single IP Address as it's against RFC (Remote Function Call). ***
*** Please note that there are 2 work flows to in order to create PTR and rDNS records ***
Workflow 1
Step One:
Log into our Web Manage Portal
Step Two:
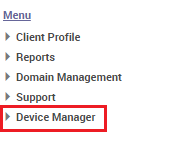
Click on the 'Device Manager' Menu link located at the left of the page
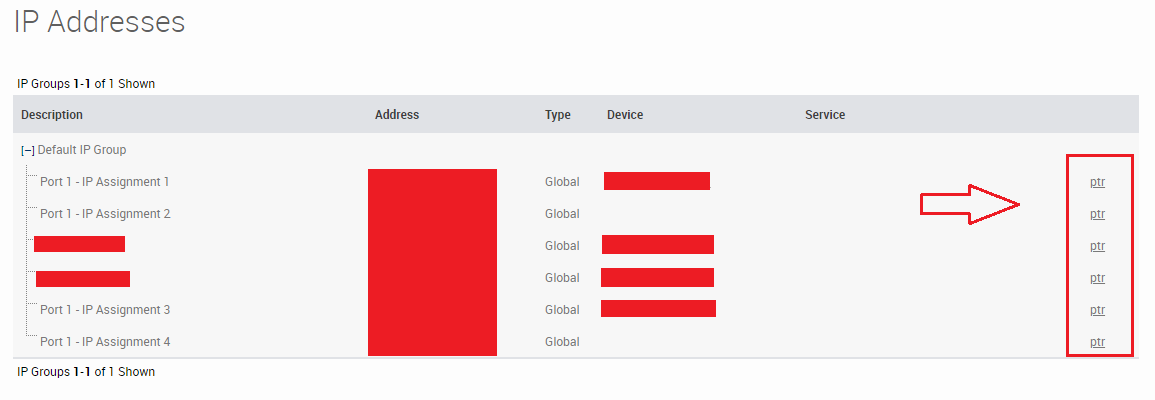
Step Three:
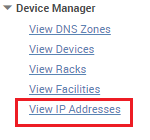
Select the option 'View IP Addresses' which should populate under the Device Manager Collapse menu
Step Four:
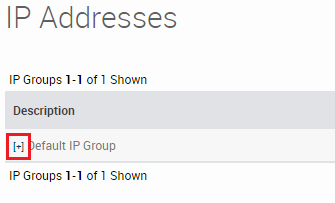
Click the '+' sign next to the IP Assignment you want to modify
Step Five:
Click the PTR Link on the last column. It is on the very far right-hand side
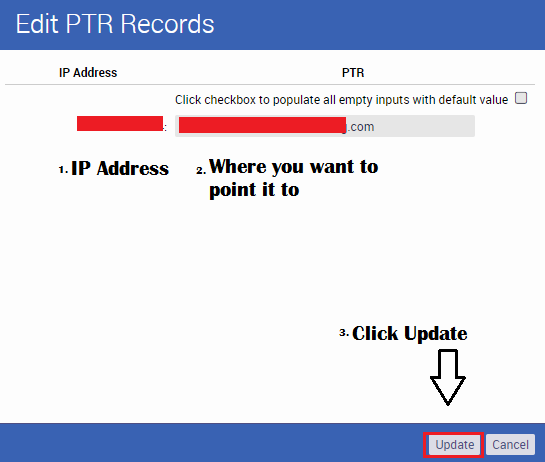
Step Six:
From the IP's you have listed, select an IP Address, then on the right hand side type the domain you wish to point it to. Click Update on the bottom once finished.
Workflow 2
***Please proceed by going through steps 1 and 2 from the previous workflow.***
Step 3:
Click on the View Devices link.

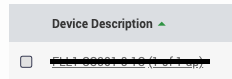
Step 4:
Select the device you wish to create the ptr record in, under device description.
Step 5:
Under IP Assignments on the right hand side of your screen find the IP Block you need and click on the PTR link.

Step 6:
Continue with step 6 from the above workflow; make sure to click update once completed.
Once the above steps are completed, the PTR/rDNS record(s) should update on our DNS within a few minutes.