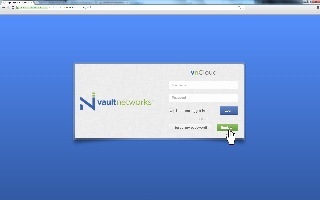
- You can either go to https://cloud.vaultnetworks.com/login and click “Register” as shown below, or go directly to https://cloud.vaultnetworks.com/register
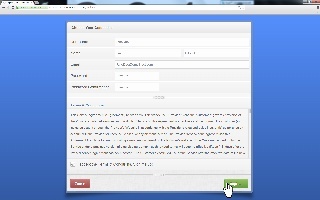
- You should see a registration form like the one shown below. Enter your desired username, first and last name, email, and desired password. Once you have filled out the form read the terms and conditions, check the box next to “I accept the Terms & Conditions. Sign me up!” and then click “Register”.
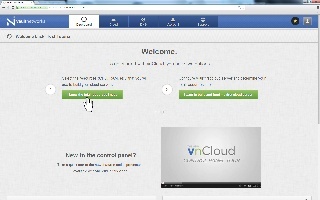
- Once you have registered for vnCloud you will be brought to a page that offers you 2 options. You can either “Select the resources that you will use to build your cloud servers” or “Configure your first cloud server and determine your total resources later.” In this example we will be selecting the first option, but if you would like to select the 2nd option you can use this video tutorial ( http://www.youtube.com/watch?v=FjLO0jZ7B9w ) to help you through those steps. To select the first options click “I know the total resources I need”
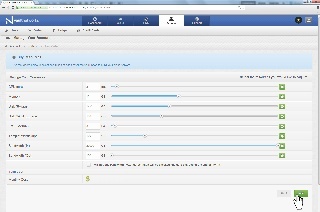
- You will be brought into a page where you will be able to purchase your resources. Here you need to adjust the resources based on your needs. The resources you will need to adjust include CPU cores, memory, disk storage, disk SATA storage, IPs, templates/backups, and bandwidth. Once you have adjusted the resources click “Next”
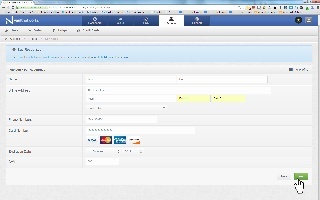
- Now that you have selected your resources it’s time to put your billing information. Be sure to enter accurate information including your full name, billing address, phone number, CC number, expiration date, and your CVV (Card Verification Value), then click “Next”
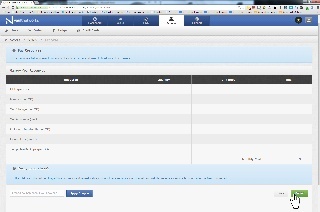
- You will be led to a summary of the resources you are purchasing. Here you can put in any coupon codes you may have
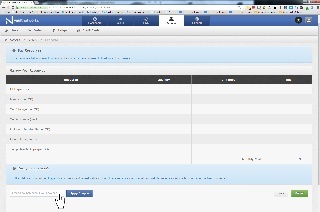
- Once you have confirmed that the resource levels shown are correct click “submit”
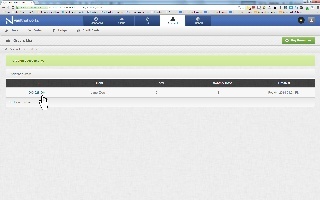
- Now that you have finished registering for vnCloud and purchasing resources you can pat yourself on the back! Congratulations and welcome to our Vault Networks vnCloud! You can now deploy a VM (virtual machine) using the resources you have just purchased.
 For an in depth video of registering for an account see: Volico Cloud Account Activation, otherwise follow the steps below.
To register for MyVolico, follow these step-by-step instructions:
Access MyVolico Login:
- Navigate to the MyVolico Login page.
- Click on the "Register" option, or alternatively, go directly to the Registration Page.
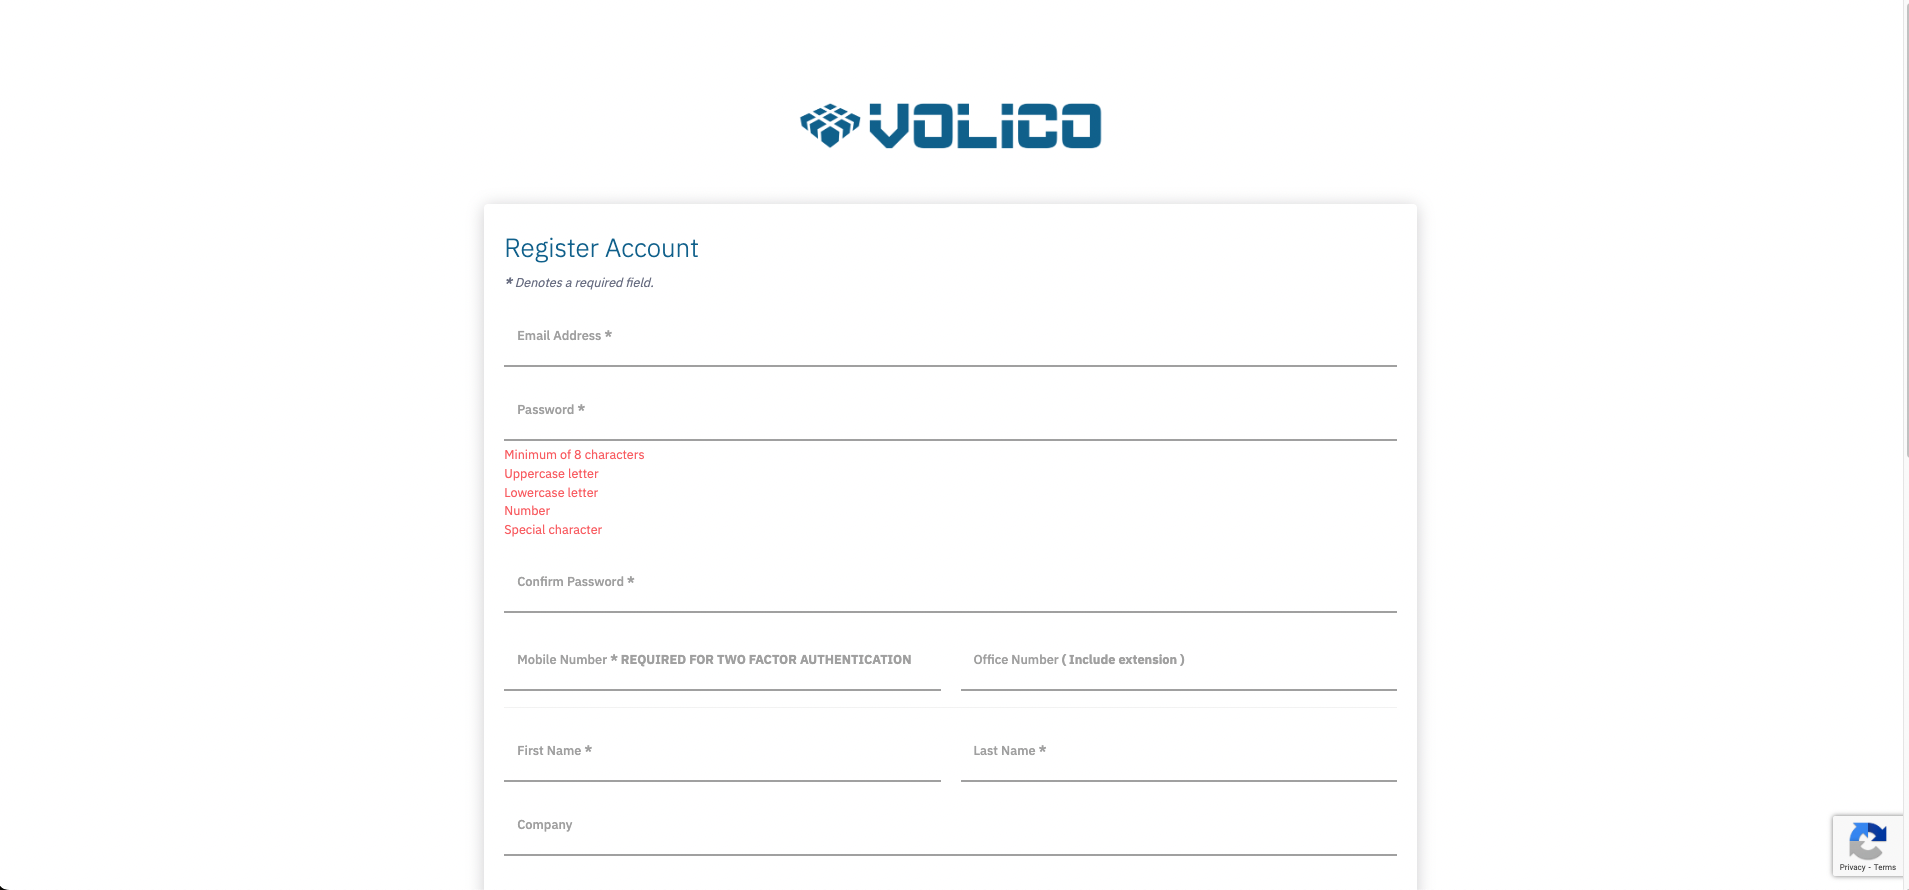
Complete Registration Form:
- Fill in the registration form with the following details:
- Email address
- Desired password
- First and Last name
- Company name (if applicable)
- Mobile phone number (must be a valid mobile number, cannot be a "VOIP")
- Office number (optional)
- Address
- City
- Zip
- Country
- State
- Fill in the registration form with the following details:
Accept Terms & Conditions:
- Read the terms and conditions.
- Check the box indicating "By registering, you agree to the Terms and Conditions *"
Submit Registration:
- Click on the "Create Account" button to submit your registration.
Handle Error Messages:
- If any errors occur during the registration process, you will be redirected back to the form with an error message prompting corrections.
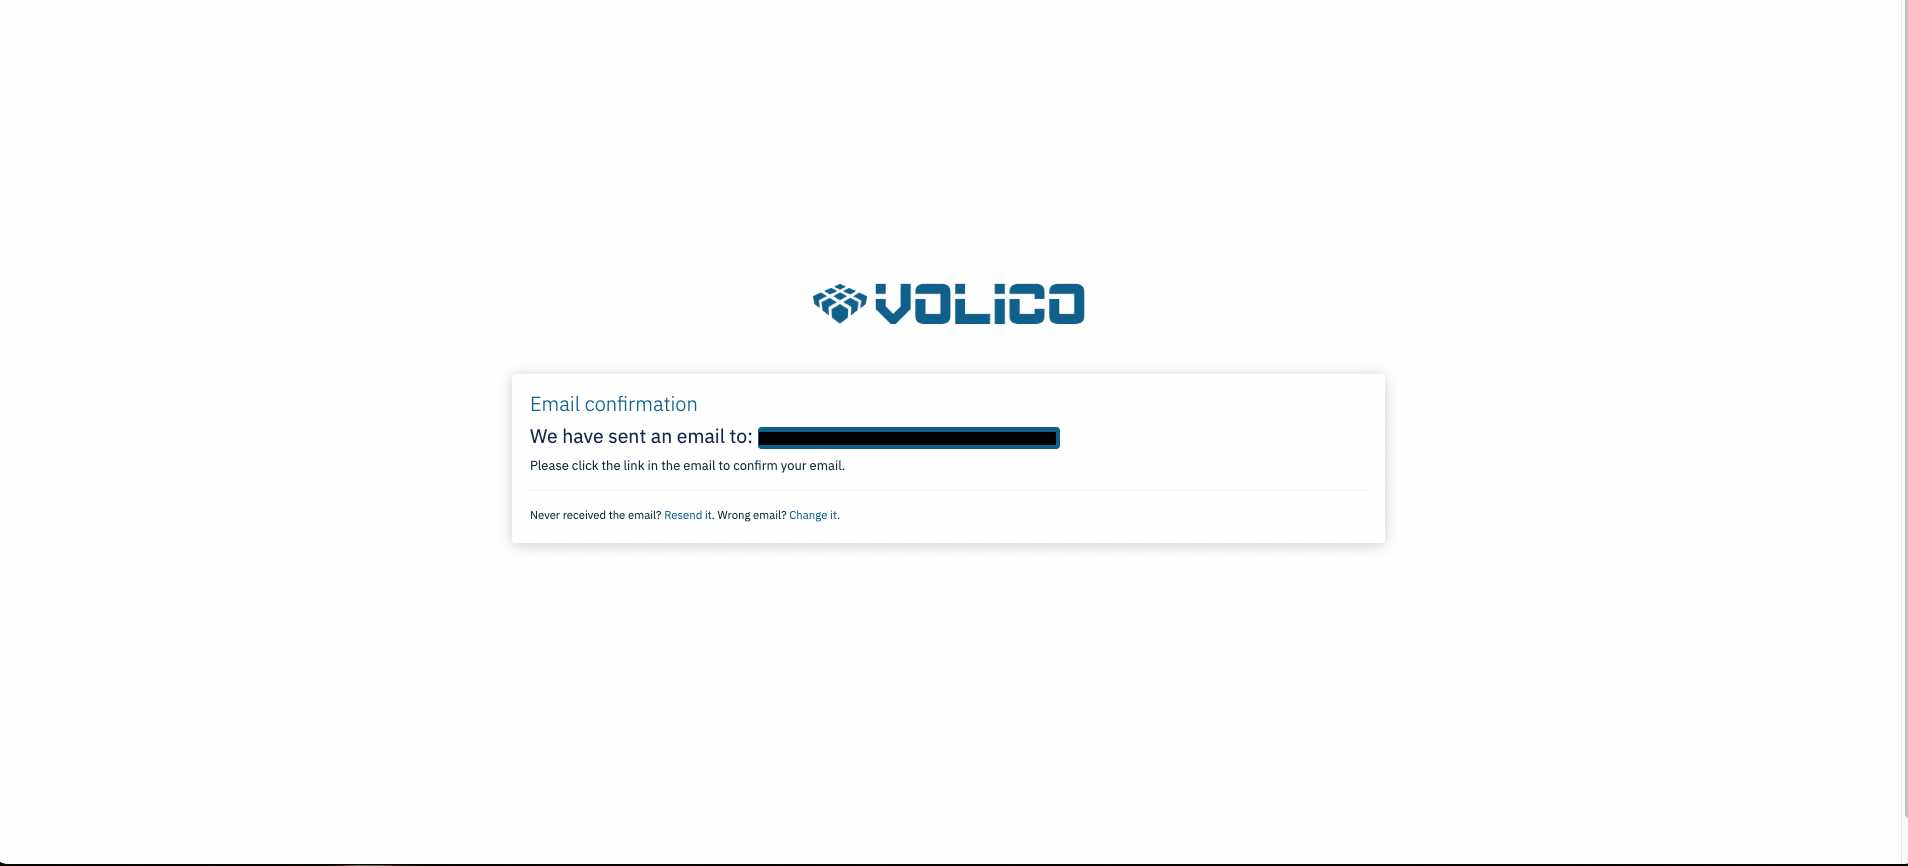
Confirmation Email:
- Upon successful submission, a confirmation email will be sent to the provided email address.
Confirm Email:
- Access your email inbox and confirm your registration by following the instructions in the confirmation email.
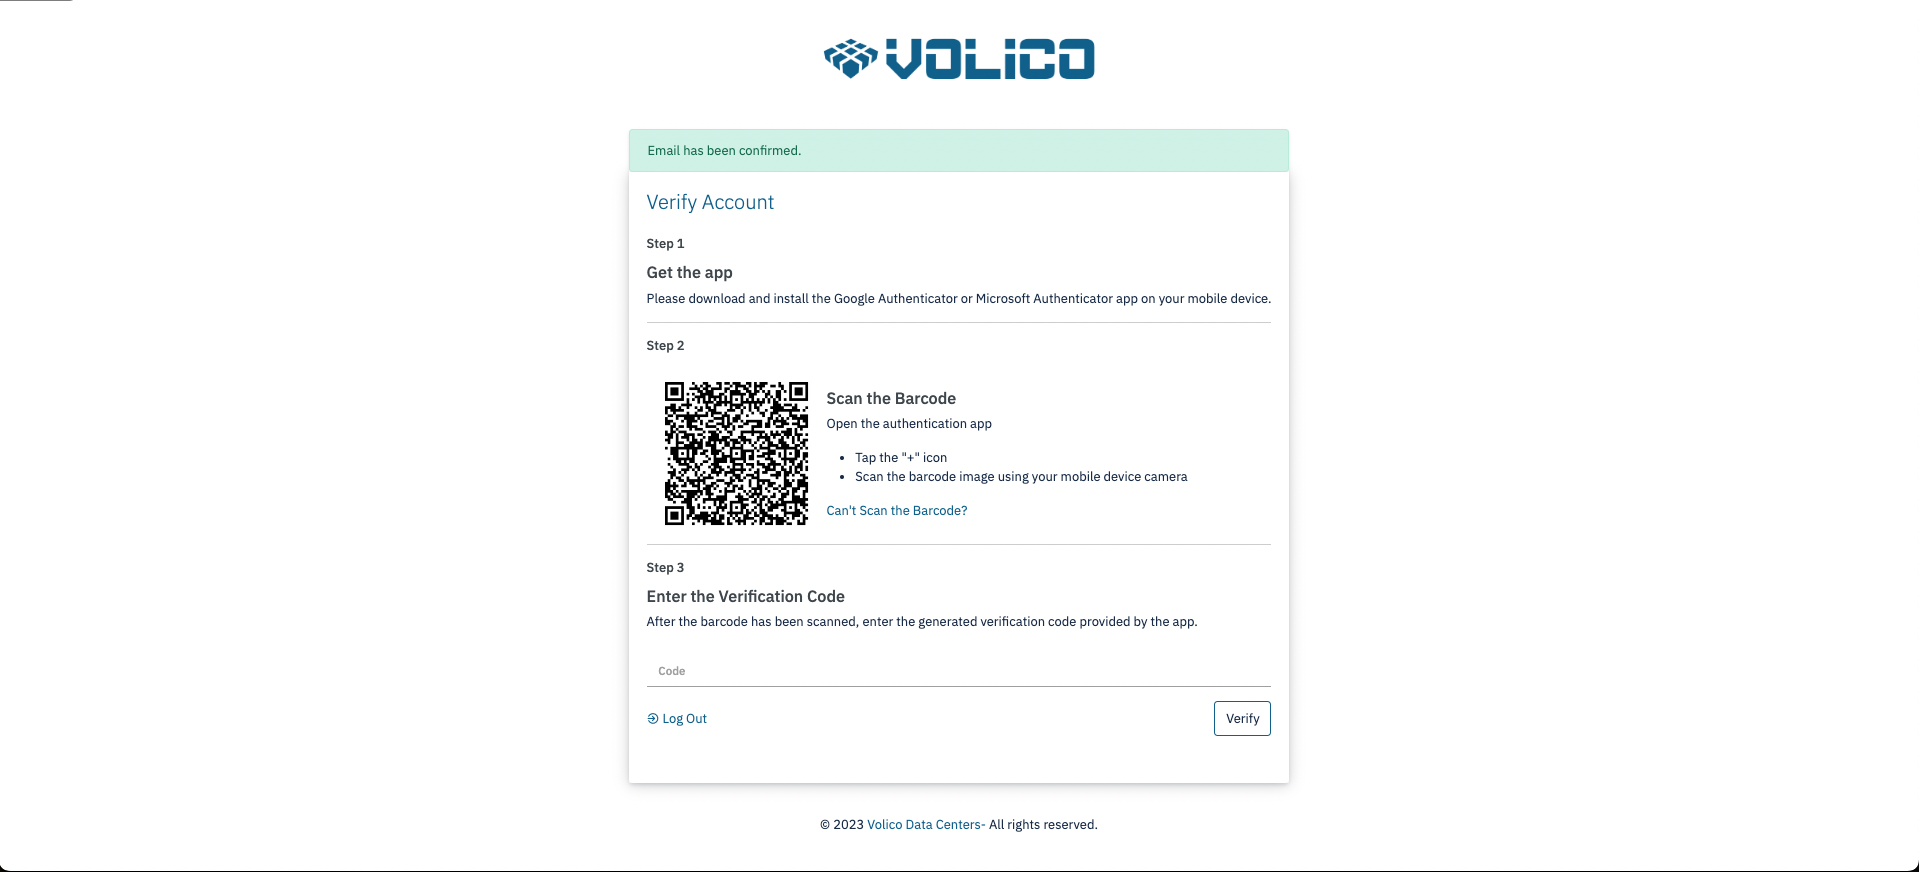
Set Up Two-Factor Authentication (2FA):
- After confirming your email, you will be prompted to set up two-factor authentication for added security.
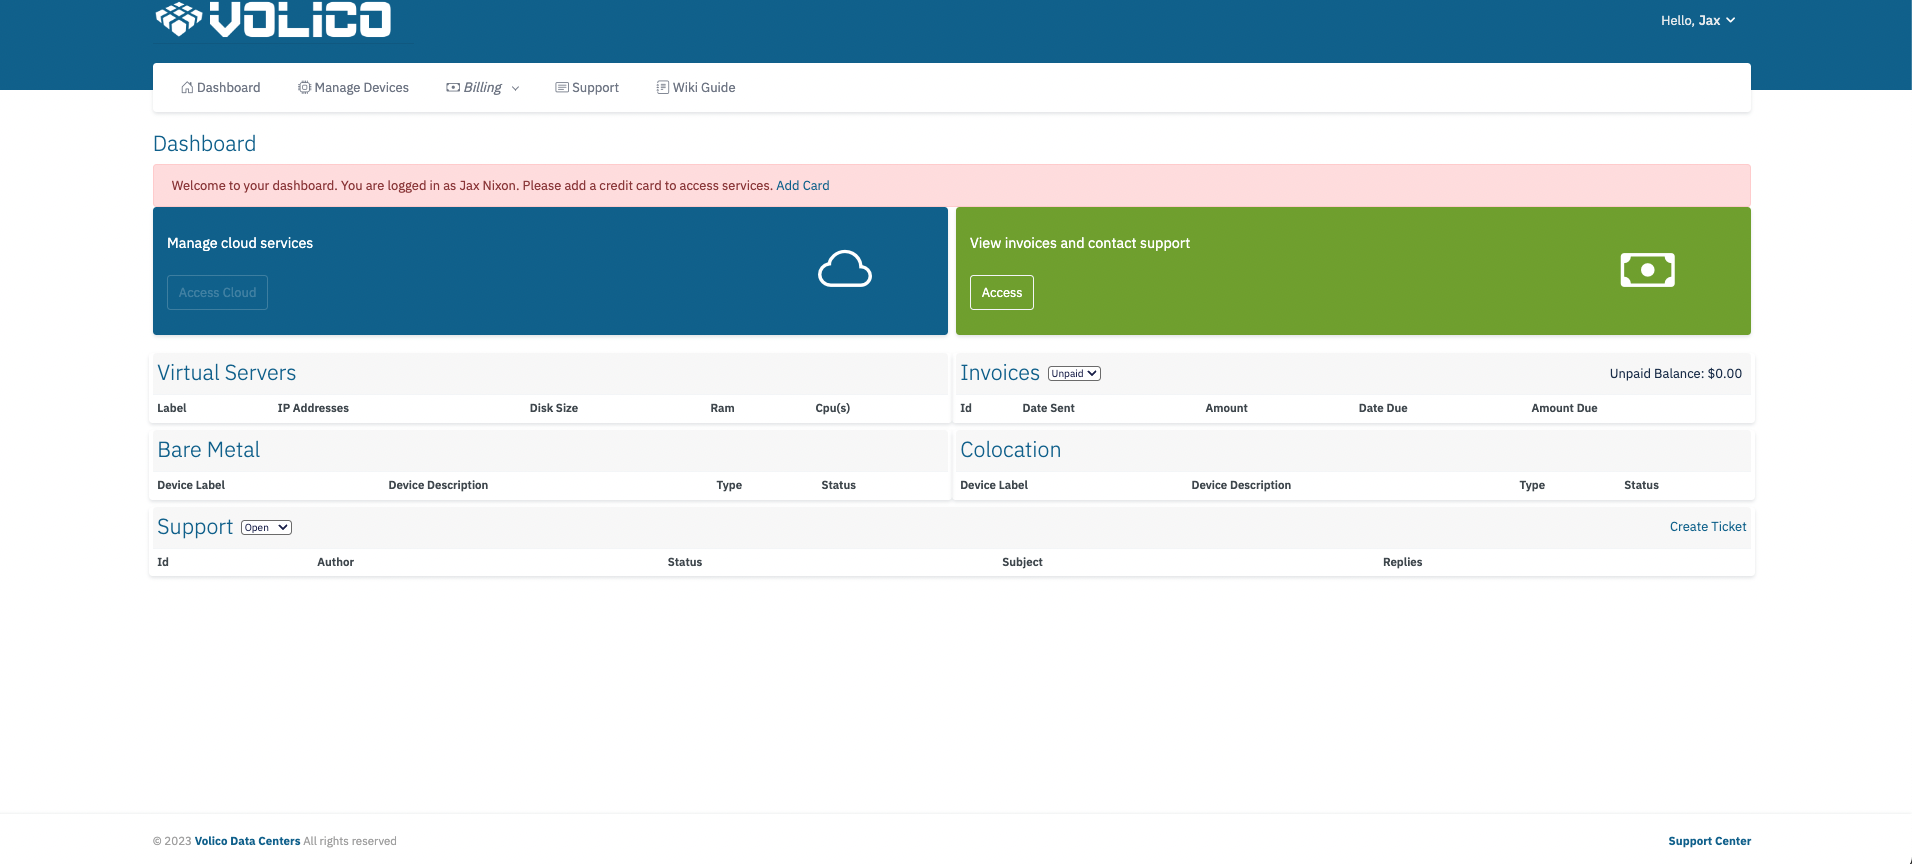
Homepage Redirection:
- Upon completing the two-factor authentication setup, you will be automatically redirected to the MyVolico homepage.
- To access cloud you will be required to put a valid credit card on file, refer to the Adding or Updating a Credit Card guide.
Explore Cloud Related Articles:
- For more information on cloud-related topics and to explore additional guides, refer to the MyVolico Guide
Following these steps ensures a smooth registration process for MyVolico, providing access to a secure and efficient cloud-related platform.